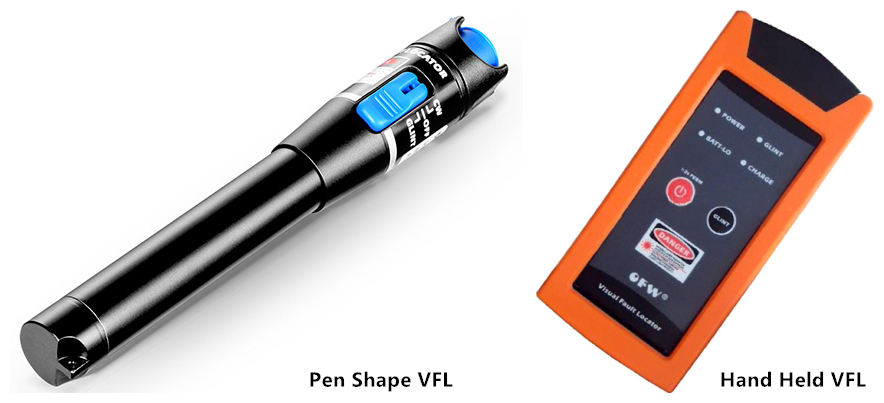
Whenever you need to install or troubleshoot fiber cables, visual fault locator (VFL) is an easy and essential tool for quickly positioning the problem areas. As a fiber optic tester, VFL is used to trace optic fibers, check fiber continuity and find fiber breaks, damaged connectors, defective splices, tight bends in optical cables. Two basic types of VFL are pen shape VFL and hand held VFL. Pen shape VFL is very small with a pocket size to be carried anywhere. Hand held VFL has a range of connector bulkheads styles from universals to specific connector types. This article will lead you to know more information about VFL.
VFL can pinpoint the exact fiber damage location, therefore technicians are able to diagnose and solve the problem in a timely manner which efficiently avoids further fiber damage. VFL is also used for conducting continuity tests and performing fiber identification. With the help of VFL, specialists can easily isolate high losses and faults in optical fiber cables. As we all know, a good cabling system is the pledge of a good data center. In order to maintain the perfect functioning of fiber optic cables, VFL is an indispensable tool to be applied for the routine trouble shooting.
The invisible light signals are typically transmitted at 1300 nm to 1650 nm wavelengths over fiber optic cables. Different from the way that OTDR (optical time-domain reflectometer) locates the faults by measuring the time of the incidence and the amplitude of the reflected pulses sent to the fiber optic cable, VFL uses powerful visible light at the wavelengths between 360 nm to 670 nm to visually and quickly locate the faults in the cables. When the visible light leaks out at a certain point of optical cable, it shows that the VFL has reached a fault. It is also easy to see light leaking through the plastic cable jackets under the right illumination of VFL. Generally, a VFL can work at the distance between 2 km to 5 km.
Using VFL is not a difficult task. Just follow the steps to know the operation procedure:
- Step one, remove the plastic connector covers from both ends of the fiber cable.
- Step two, connect the VFL to one end of the fiber cable.
- Step three, press the tester button and observe whether light emanates from the other end of the fiber. This gives a simple indication of the continuity of the fiber link.
- Step four, repeat the above steps with other fiber cables to see if visual light is leaking out from a faulty splice. This may illustrate an easy way of carrying out visual fault locating on bad splices or joints.
- Step five, disconnect all equipment, put the plastic covers back to the connector ends and return everything to the state it was.
Notes:
- Point one, do not look directly into the VFL’s output.
- Point two, cover the VFL’s output with the dust cap when it is not in use.
- Point three, VFL is not recommended to be used on dark colored or armored cables.
VFL is an equipment for fiber testing, troubleshooting and measurement. It is ideal for locating a large number of defects that are hidden in an OTDR “blind-spot” or “dead-zone”. Fiber breaks, faulty connectors, sharp bends, bad splices and other similar faults can be visually located by VFL’s visual light injected into a fiber. VFL can boost productivity in the field by providing fast detection, precise fault location and ORL (optical return loss) measurements. If you don’t have it, better get one for your project.